
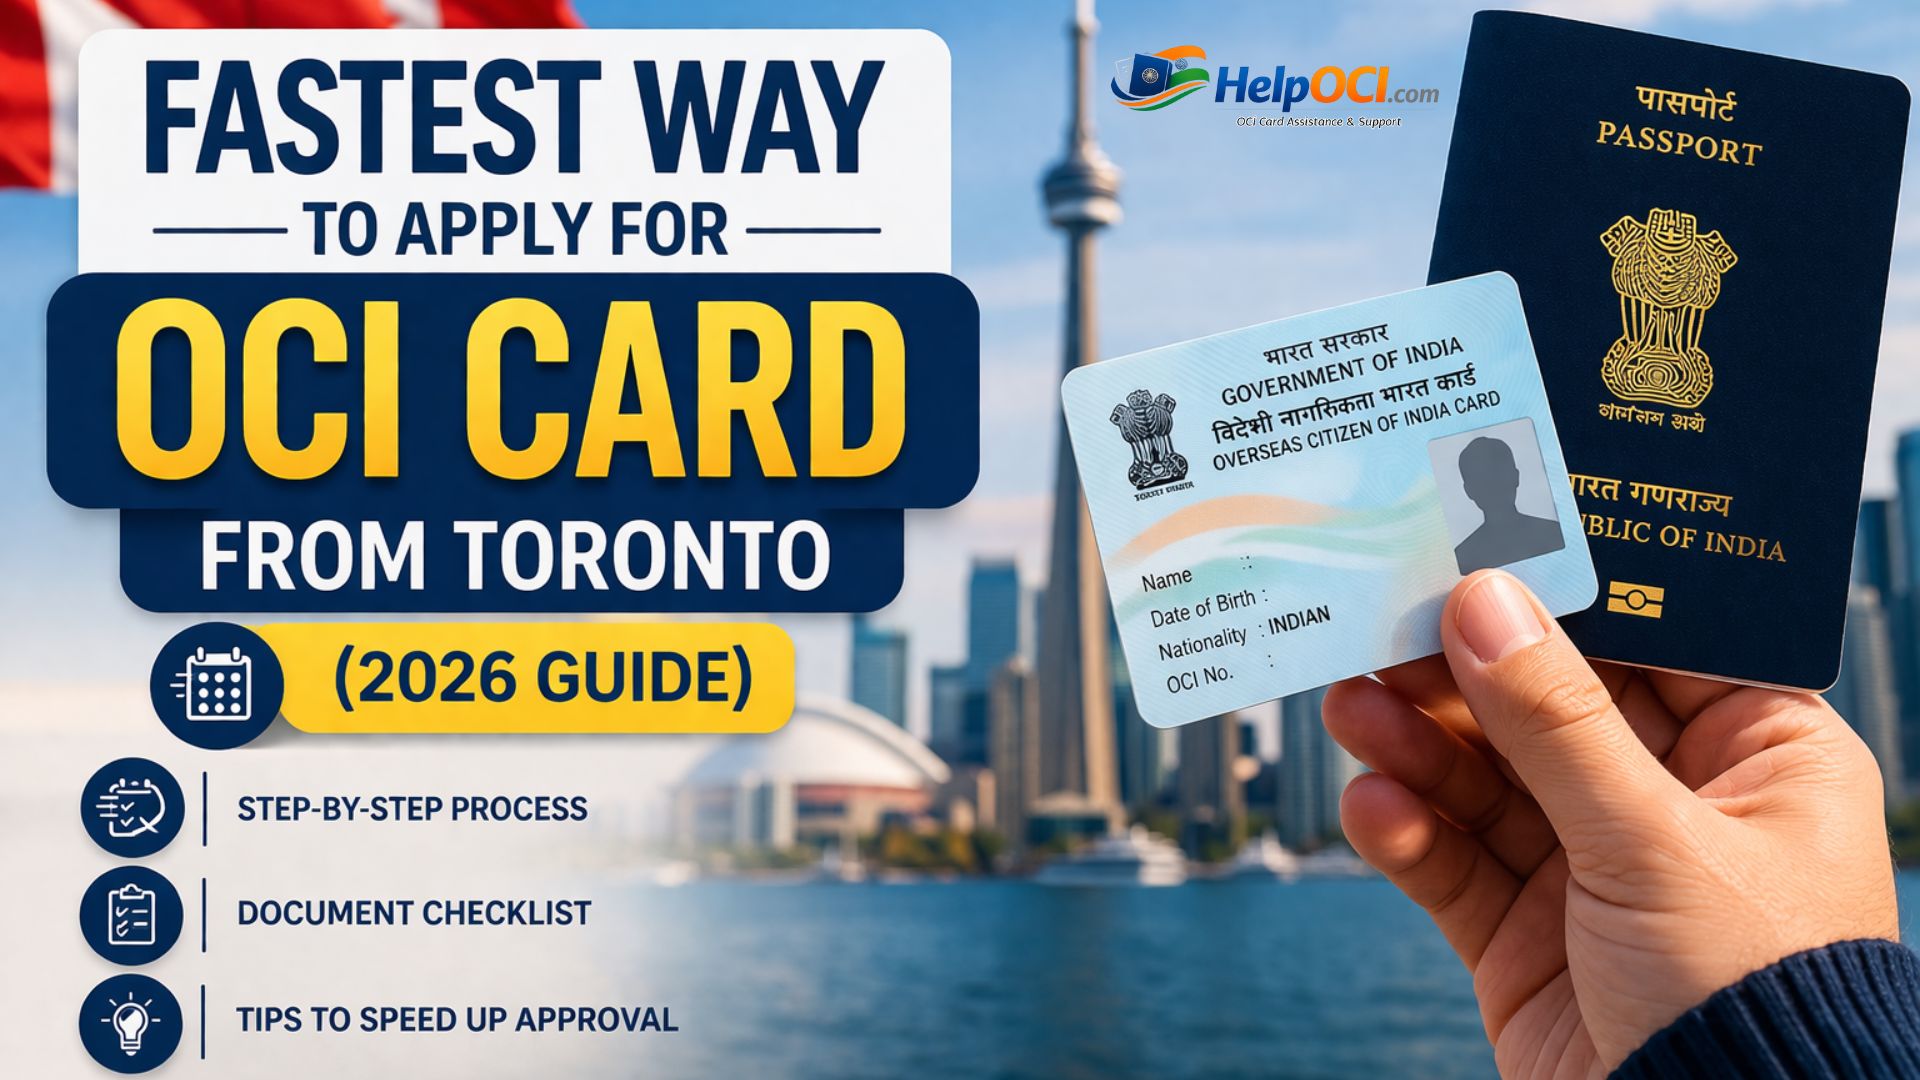
The biggest delays in OCI applications don’t usually come from the government, they come from small, avoidable mistakes that push your application to the back of the queue. Many applicants search for the fastest way to apply for an OCI card from Toronto because they have upcoming travel plans, family commitments, or important matters to handle in India. Waiting months due to errors is simply not an option.
The truth is, there’s no shortcut to speed up OCI processing. The fastest way is to get your application approved on the first attempt, without errors or missing documents.
In this guide, we’ll walk you through a proven, step-by-step approach to ensure a smooth and fast OCI application from Toronto. Based on real cases, we’ll highlight common pitfalls and show you exactly how to avoid delays in 2026.
Read Also:- OCI Processing Time in New York: Real Timeline & Delays Explained
Who Can Apply for OCI Card from Toronto?
Before we start, let’s confirm you’re in the right place. The OCI card is not for everyone. From our day-to-day work, the vast majority of applicants from Toronto fall into one of these buckets.
Former Indian Citizens
This is the most common category. You were once an Indian citizen, you have now become a Canadian citizen, and you have formally surrendered your Indian passport. You must have the Surrender Certificate to prove it.
Applicants with Indian Heritage
You were born in Canada (or elsewhere) but your parents or grandparents were citizens of India. You need to prove this lineage with their documents, like Indian passports or birth certificates.
Spouses of OCI Cardholders or Indian Citizens
You are married to a person who is either an Indian citizen or an existing OCI cardholder. Your marriage must be registered and have subsisted for at least two years right before you apply. If you or your ancestors were ever citizens of Pakistan or Bangladesh, you are not eligible for an OCI card. The rules on this are absolute.

Fastest Way to Apply for OCI Card (Overview)
The fastest way to apply for an OCI card from Toronto is to build a perfect application file. One submission, one approval. Every rejection or request for more information adds weeks, sometimes months, to your timeline. Speed is about precision.
Our entire process is built on a “zero-error” principle. This means every document is correct, every online form field matches the documents, and the digital uploads meet the exact specifications before you even think about booking an appointment. Getting it right the first time is the only “hack” that works.
Step-by-Step OCI Application Process from Toronto
We follow a strict order of operations. Deviating from this is where people get into trouble.
Step 1: Document Assembly and Digital Scans
Before you touch the online form, gather every single required document. We mean everything. Your Canadian passport, proof of Indian origin, photos, signatures. Scan all of them into clear PDF and JPEG files according to government specifications. Name them logically (e.g., “John_Doe_Canadian_Passport.pdf”). This prep work saves hours of frustration.
Step 2: The Government of India Online Form
Go to the official Government of India OCI Services website. Fill out Part A and Part B of the application form. This is where most mistakes happen. Be slow, be deliberate. Every detail must match your supporting documents perfectly. Once you complete it, the system will generate a temporary file number.
Step 3: Uploading Your Digital Files
After completing the form, you will be prompted to upload your photo, signature, and all the supporting documents you scanned in Step 1. The system is very picky about file sizes and dimensions. If your scans are ready, this part is simple.
Step 4: BLS International Appointment
Once the online part is done, you must submit your physical file. In Toronto, this is handled by BLS International. Go to their website, choose the OCI service, and book an appointment. Print the appointment confirmation.
Step 5: Physical File Submission
Organize your original documents and one set of photocopies in the exact order specified in the checklist. Go to your BLS appointment with your application form, photos, documents, and the required fee. The BLS agent will check your file. If it’s complete, they will accept it and give you a receipt. This receipt is your key to tracking the application.
Documents Required for OCI Application
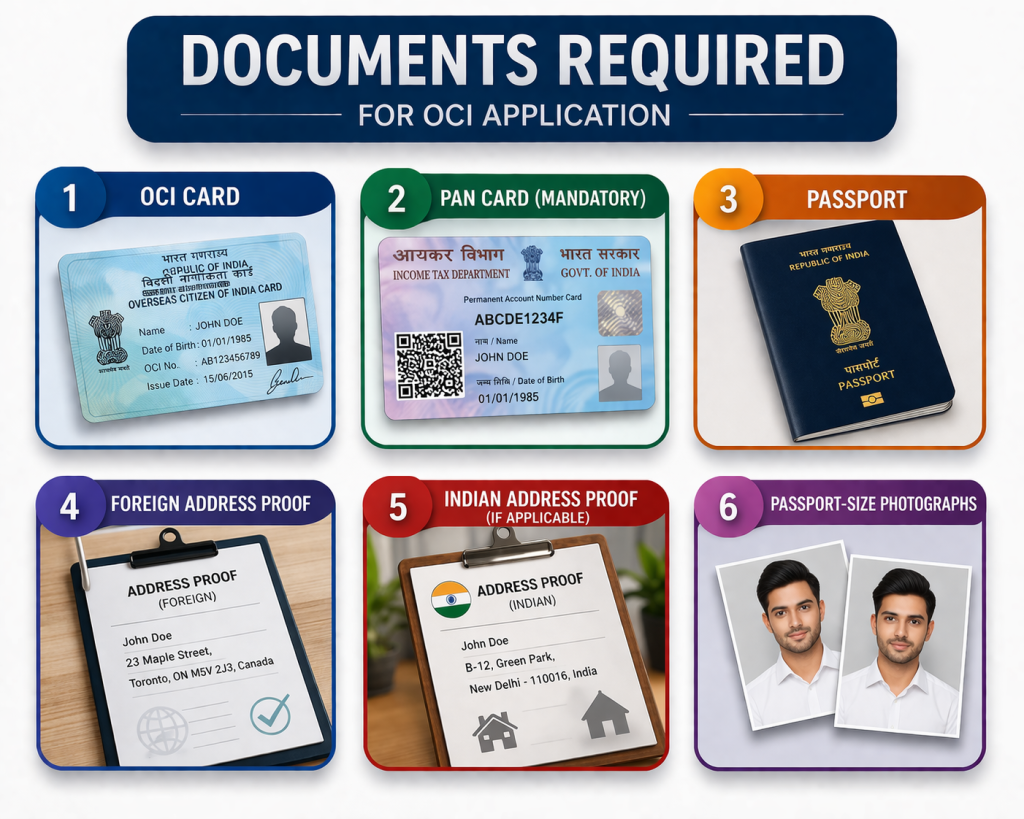
The document list is non-negotiable. Having the wrong ones is an instant rejection. Here’s a breakdown for the most common OCI application Toronto scenarios.
For Former Indian Citizens
- Printed copy of the completed online OCI application form.
- Your current Canadian Passport. Original and a photocopy.
- Proof of surrendered Indian citizenship. This is usually the Surrender Certificate and the stamped old Indian passport.
- Your Canadian Citizenship Certificate.
- Proof of address in Toronto (driver’s license, utility bill).
- Two recent photographs as per the specified format.
For Applicants Born in Canada to Indian Parents
- All the documents listed above (except the Surrender Certificate).
- Your original Canadian Birth Certificate (the long-form version showing parents’ names).
- Your parents’ current Indian or Canadian passports.
- Your parents’ proof of status in Canada (PR card, citizenship certificate).
- Your parents’ marriage certificate.
How to Fill OCI Application Form Correctly?
The online form is where applications go to die. We’ve seen thousands of them. Pay attention to these fields.
- Applicant’s Name and Details:- Must match your Canadian passport EXACTLY. No variations, no nicknames.
- Parents’/Spouse’s Details:- Their names must match their passports or official documents, not how you spell them casually.
- Visible Distinguishing Mark:- Write “NONE” if you don’t have one. Leaving it blank can cause an issue.
- Previous Nationality:- If you were Indian, you must state “INDIAN”. You cannot put “CANADIAN” here. This is a common error.
- Photograph and Signature Upload:- The digital files must be clean and meet the pixel and size requirements. A blurry photo or a signature with background shadows will get your application sent back.
OCI Fees & Payment Methods (Toronto)
As of early 2026, the fee for a new OCI application is approximately CAD $395. This includes the BLS service fee. Always check the BLS Canada website for the most current fee schedule before your appointment.
In Toronto, BLS International accepts payment via Debit Card or a Bank Draft/Money Order payable to “BLS International Services Canada Inc.”. They do not accept credit cards or cash. This is a critical detail.
Processing Time for OCI in Toronto
Officially, the processing time is stated as 6-8 weeks after your application is acknowledged by the Consulate General of India in Toronto.
In our experience, a perfect application submitted during a non-peak season can be processed in as little as 4-5 weeks. However, if there are any errors or it’s a busy period (like before summer or winter holidays), it can easily stretch to 10-12 weeks. The fastest way to apply OCI Toronto is to plan for the 8-week timeline and be happy if it comes sooner.
Tips to Speed Up OCI Application
- Get the Photo Right:- Don’t try to take it yourself against a wall. Go to a professional shop like Shoppers Drug Mart or a private photo studio. Ask specifically for an “OCI application photo” and get both the physical prints and a digital copy.
- Submit at the Brampton BLS Center:- Over the years, we’ve noticed that the BLS center in Brampton is often less crowded than the main downtown Toronto location. This can mean shorter wait times on your appointment day and sometimes faster initial processing.
- Use the Document Checklist as Your Bible:- The BLS website has a detailed document checklist for each OCI category. Print it. As you gather each document, tick it off. Organize your physical file in the exact same order as the checklist. This makes the BLS agent’s job easier, which means a smoother, faster submission for you.
Common Mistakes That Cause Delays
- Mismatched Signatures:- Your signature on the form must match the signature in your passport. If you have a new signature, update your passport first.
- Missing Surrender Certificate:- If you were ever an Indian citizen, you cannot apply for OCI without proof of renunciation. Period.
- Incorrect Photo Specifications:- The photo must have a white background, a specific size (51×51 mm or 2×2 inches), and show 80% of your face. Wrong specs are the 1 reason for an initial rejection at the BLS counter.
- Forgetting to Sign the Form:- The printed application form needs to be signed in two places. Many people miss the second spot.
How to Track OCI Application Status?
Tracking is a two-step process.
- BLS Portal:- For the first few days, you can track your application on the BLS Canada website using the tracking number from your receipt. This tells you when your file has been sent to the Indian Consulate.
- Government of India OCI Portal:- Once the consulate acknowledges your application, you must switch to the official “OCI Status Enquiry” page. You’ll need your Passport Number and the File Number (CAN-T-xxxxxxx) from your BLS receipt. This is where you will see the real-time status updates like “Under Process,” “Dispatched from Delhi,” and “Ready for Collection.”
Conclusion
The fastest way to apply for an OCI card from Toronto isn’t about shortcuts, it’s about getting everything right the first time. Most delays happen due to small mistakes like incorrect documents, form errors, or missing details.
By following a clear step-by-step process, double-checking your application, and avoiding common pitfalls, you can significantly reduce processing time and avoid unnecessary delays.
If you prepare carefully and submit a complete, error-free application, your OCI process can move smoothly, helping you get your card as quickly as possible in 2026.
Frequently Asked Questions
Do I need my original documents at the BLS appointment?
Yes, absolutely. You must take all your original documents (Canadian passport, birth certificate, parents' passports, etc.) with you. The BLS agent will verify them against your photocopies and return the originals to you on the spot. Don't show up with just copies.
Can I apply for my whole family at the same time?
Yes. You can book a family appointment. However, each family member's application is separate and must be complete with its own set of documents. Do not mix documents between applications. Each person needs a full, independent file.